Task Bar or Tool Bar

The first item you will see in the task bar starting from your left is the Connect Via drop down menu. This menu will list all devices currently powered on and plugged in to your PC. Click the arrow on the right hand side of the Connect Via menu bar and select the desired AquaLab device. Click the Connect button, to connect to the system you highlighted in the Connect Via drop down menu. If you click the Connect button and receive the error, "no communications port selected," then your device is not highlighted in the Connect Via menu or it is not communicating with AquaLink. Please see either the "Troubleshooting" or "Communication Troubleshooting" help files if you are having issues with AquaLink 4.
The next button in the toolbar is the Download button. Select this button to download all of your data from the connected AquaLab unit, if it has internal memory. Next is the "Export" button that will export the data you have on your computer to a spreadsheet, formatted as either a comma separated .csv file or an Excel .xls file.
The %Models button opens the Model Manager. The DUO is the only AquaLab that can use models, however you can manage models with any AquaLab device connected. If you do not have the DUO, you will receive the warning message: "You are connected to an instrument that does not support models! Although you can still manage the models, they will not synchronize with the connected device."
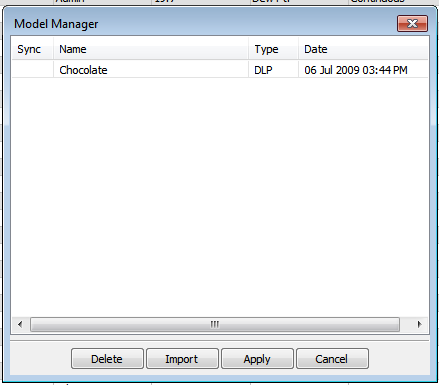
When you open the Model Manager, you will see a new window open with all of your available models listed in a table with their sync status, name, type, and date and time stamp. You have four actions available to you at this point, you can either delete selected models, import more models, apply changes, or cancel your actions.
Please see the help file "Isotherm Models and Model Manager.txt" for more information on the Model Manager and obtaining models.